Create the perfect working environment for your needs, using Maya's UI customisation options
Modern software can be hugely powerful and all-encompassing. Maya is
no different, offering a bewildering array to tools, commands and
options to help you reach your desired result. But how do you manage
this?
There are lots of Maya tutorials
around, as well as useful helpers in the form of shelves and focused
menu sets. However it's possible to define your own preferences for your
working environment, showing what you want, where you want it. Over the
next few steps you'll learn how to make the most of the Maya UI and
roll your own UI design to best use your available screen real estate.
Open
Maya and look at the default layout. There's a lot going on and while
much of it is very useful, it often pays to take time to build a
dedicated, task-specific workspace. It's easy to do as well, so let's
get stuck in.
For
this example let's look at building a space for polygon modeling. All
extraneous options can be removed to give us maximum space to
concentrate on our geometry.
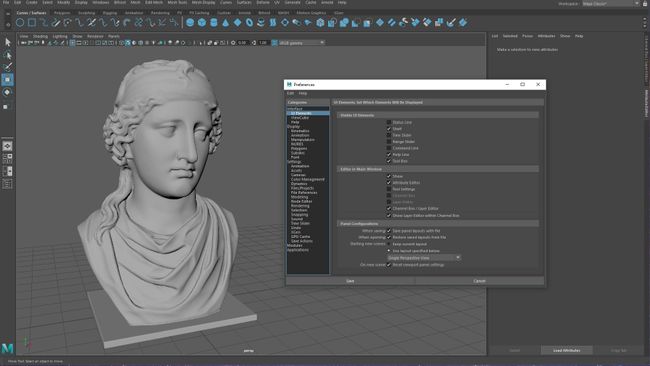
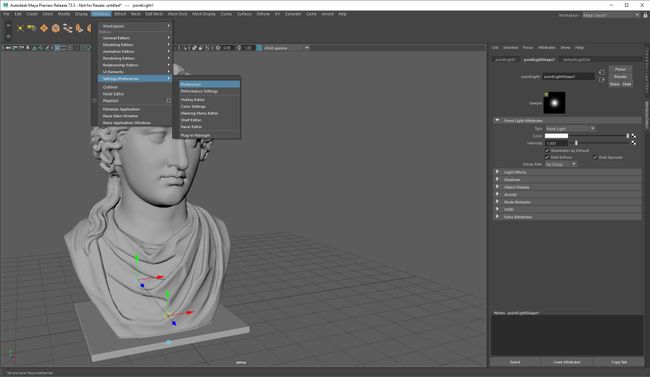
Click the Running man/cog icon in
the bottom right to open the Preferences pane, then select the UI
Elements from the options on the left. This shows many things we can
turn on and off. Start by unchecking the Status Line, Time and Range
sliders, and the Command Line. Click Save and close the window. Already
we have a more streamlined feel.
I
would also suggest unchecking the Tool Box options, which are the
selection tools and viewport layouts that run down the left of the
application. However, if you are new to Maya, only do this if you are
comfortable with the keyboard shortcuts for these items. They are some
of the first you should learn, so you should be good to go, but keep in
mind that you might still need quick access to certain commands.
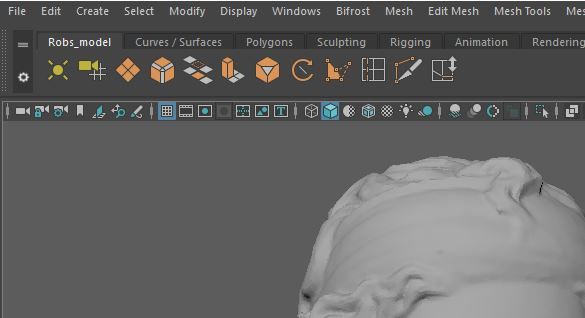
When
it comes to dealing with shelves you have options. You can access the
tools in the shelves from the Space Bar menu, but you may still like to
keep a simpler shelf in view, depending on your preferred way of
working.
If you like the shelf but want less clutter, click the
gear icon to the left of the shelf and choose to hide Shelf Tabs. You
can still access the different shelves by clicking the double line above
the gear.
If
you want quick access to just a few tools but from different shelves,
click the gear again and choose New Shelf, giving it a name when
prompted. To add tools to the shelf ctrl+shift and click the tool as normal. You will find it is now housed in your custom shelf.
This,
combined with the previous step on hiding tabs, makes for a clean
workspace but one that still gives you access to all your most commonly
used tools.
If you want to return to Preferences editor (it's now gone because we've hidden the command line) go to Windows > Settings > Preferences. Head to the Interface section so you can clean up your viewports.
Uncheck
Show menubar in panels, as the icons alone will be enough. As with so
many things in Maya, there are multiple methods of accessing the same
thing. Decide which one you prefer and set your workspace accordingly.
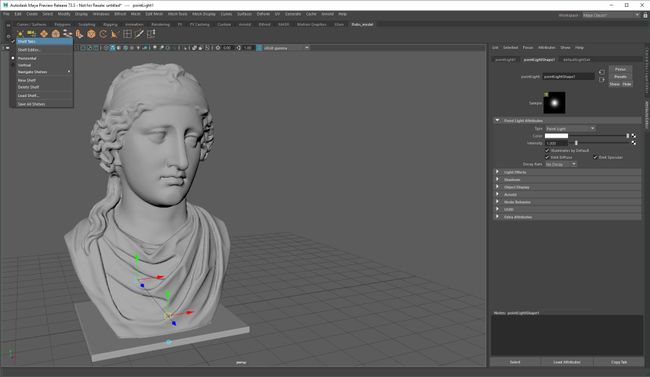
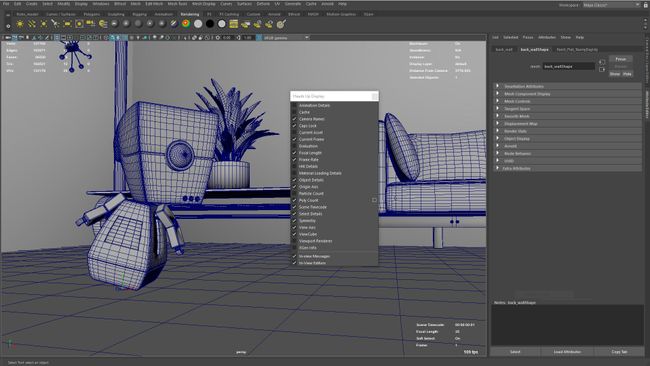
When
modeling it can be particularly useful to see certain details about a
mesh, such as the polygon count or other measures of your project. To
show various elements in your viewport go to Display > Headsup and click the double dotted line to tear off the menu.
Now
you can spend a little time defining what information you would like
constant access to. Of course you can come back and hide things at any
time too.
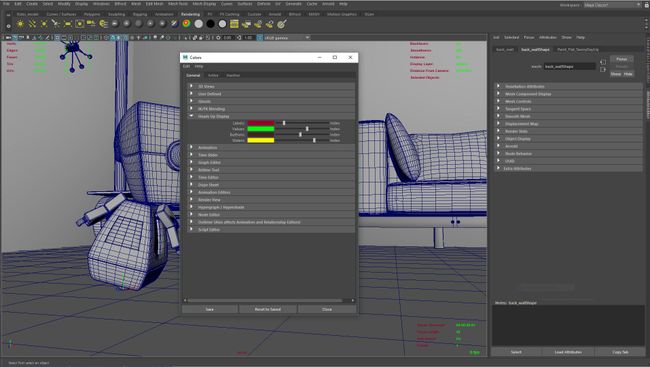
If you aren't happy with the colours of certain UI elements, go to Windows > Settings > Preferences > Colors,
where you will see a long list of sub-sections. Let's look at our HUD
colours, which we were dealing with in the previous step. Depending on
your viewport, these may be less visible than you like, or stand out too
much.
Find the Heads Up Display tab and click it. There are four
sliders that let you adjust to suit. Once done, you can go through the
other tabs, adapting other colours to suit. That said, the defaults have
had a lot of thought put into them and do work well in most cases.
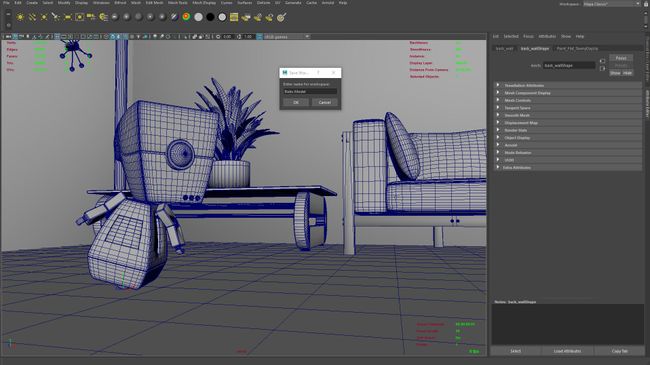
When
you've created a UI set you're happy with, let's save it. There are
options that let Maya forget or remember workspaces and UI sets, but it
really is best practice to save it as a custom option. This will enable
you to choose it at will, depending on what task you are working on.
To do this is very simple. Just click Windows > Workspaces > Save Workspace, then give it a name. It will now appear in the list of other presets at the top-right of your application.